Last updated June 2026.
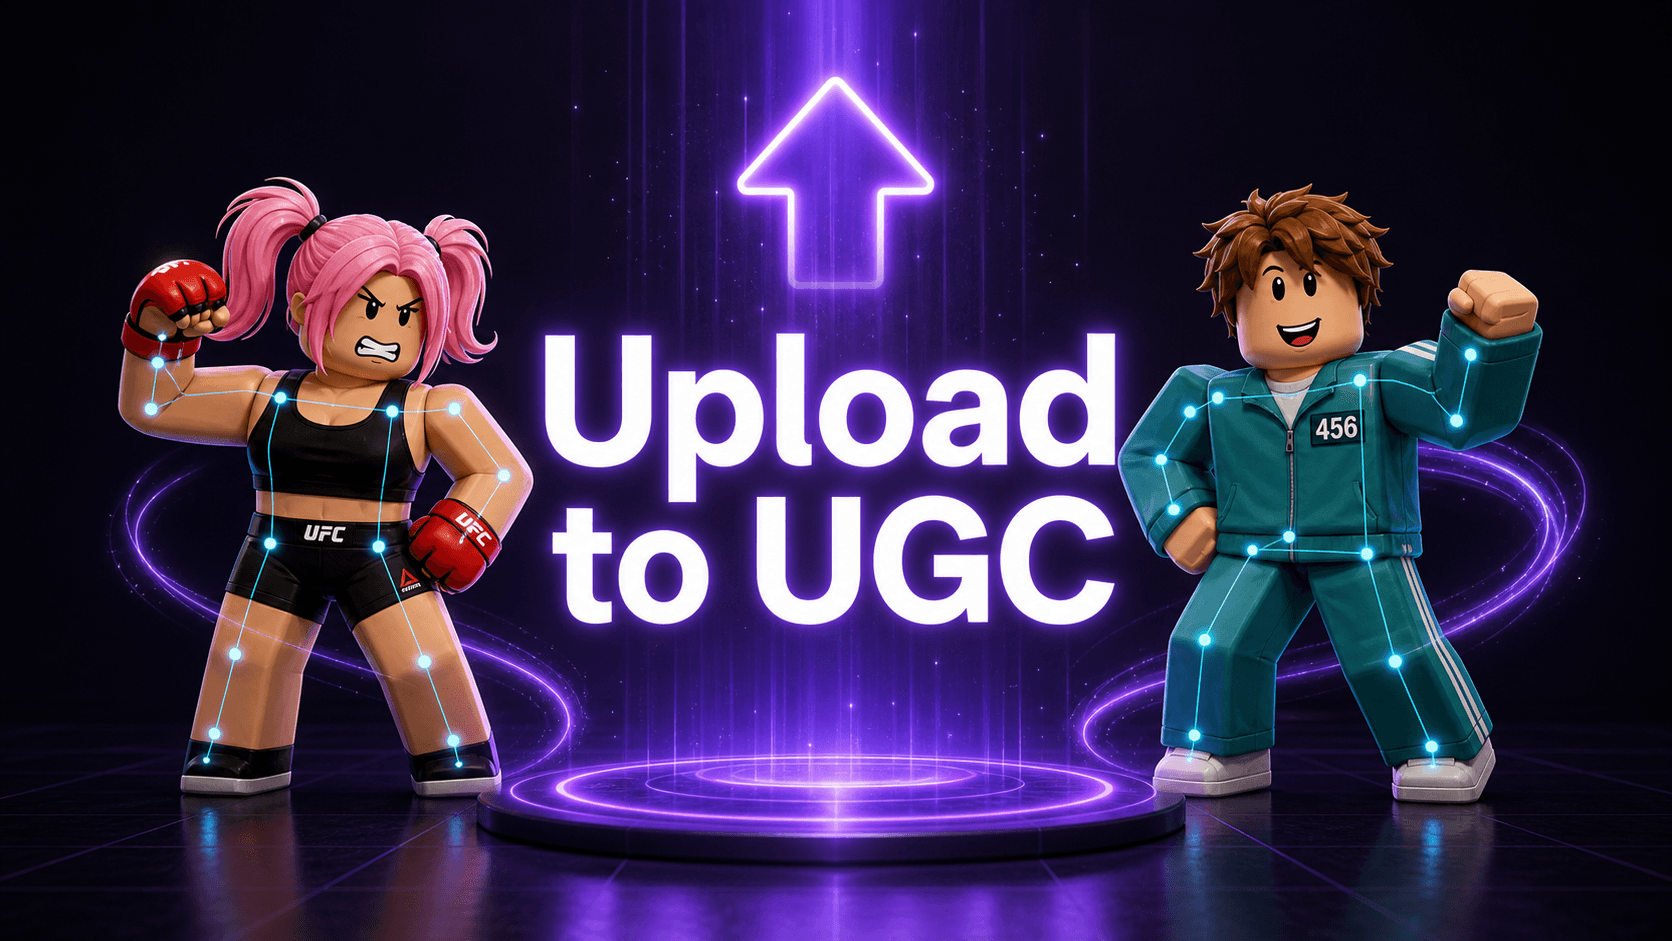
What if you could create Roblox animations at the speed of light—and import them directly into Roblox Studio without downloading a single file?
That's exactly what we're going to show you today.
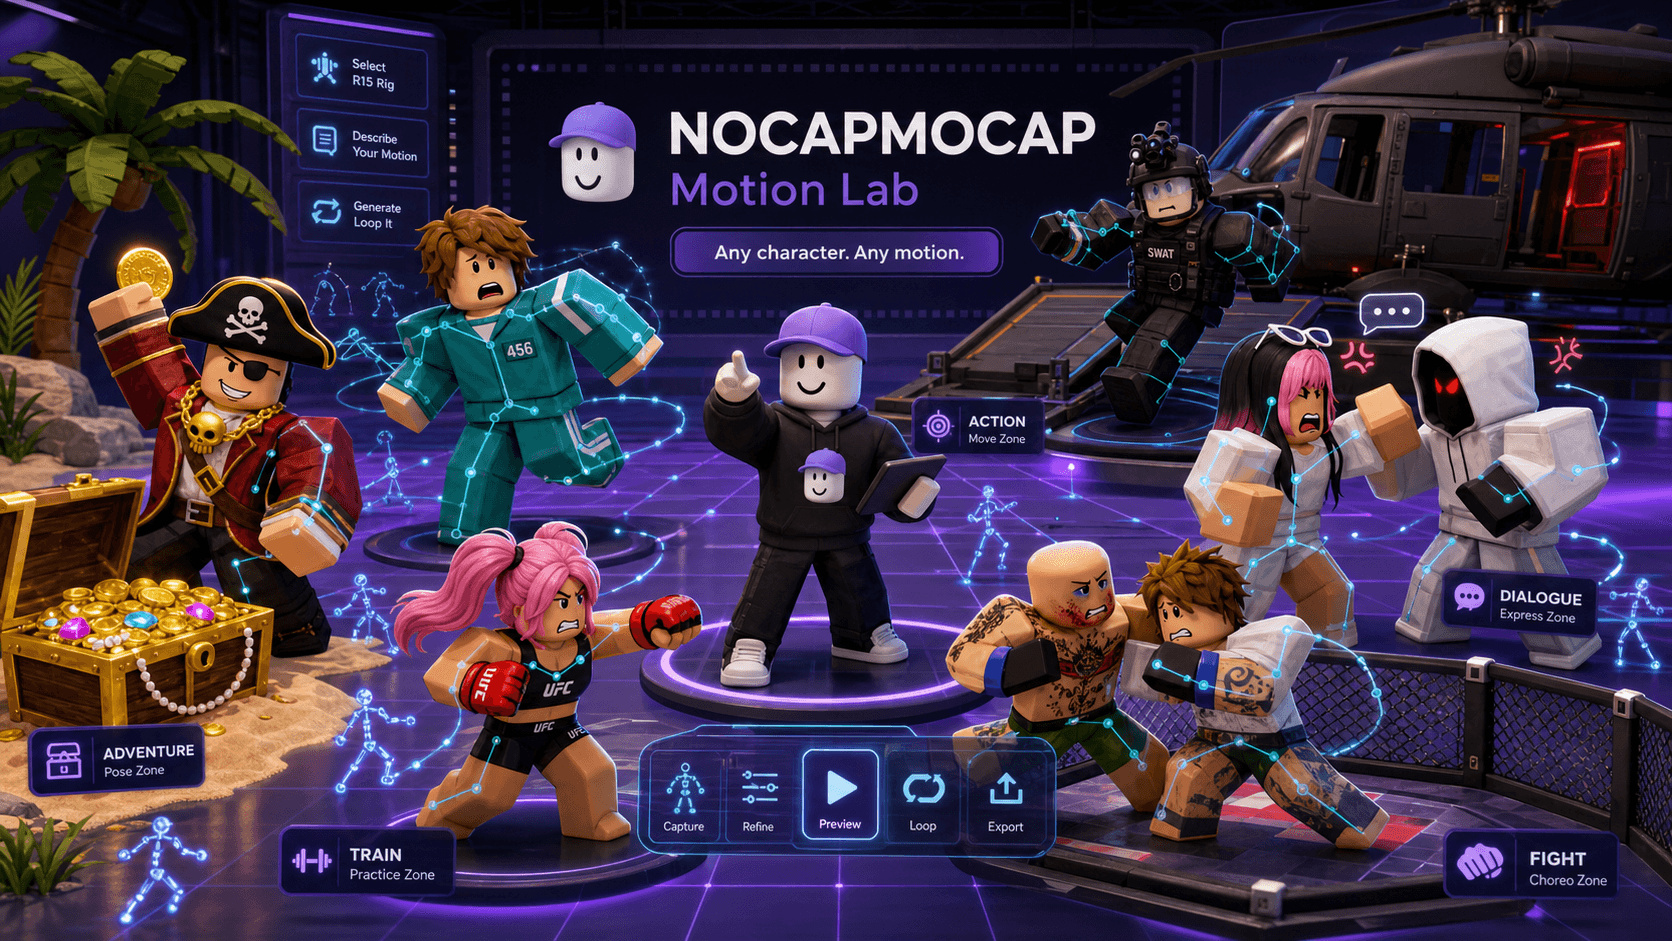
NoCapMocap is an AI Roblox animator and animation generator: you describe a move in plain English and get a rigged R15 animation in seconds. The smoothest way to do it is the free NoCapMocap Motion Lab plugin, which runs the whole workflow—generate, preview, and apply to your rig—right inside Roblox Studio. You can still generate on the web and use Copy to Roblox if you prefer; this guide follows the plugin because it's the fastest path. Prefer motion capture? You can also turn a phone video into an R15 animation, no suit or rig required.
What You'll Learn
- Installing the free NoCapMocap Motion Lab plugin and connecting your account
- Writing effective animation prompts (and letting AI enhance them)
- Configuring duration and settings for the best results
- Previewing variations and applying them to an R15 rig—without leaving Roblox Studio
- Animating from a video clip with video-to-motion
Get the Motion Lab plugin
The fastest way to animate is the free NoCapMocap Motion Lab plugin. It runs the entire workflow inside Roblox Studio—generate, preview, and apply to your rig—so there are no files to download and nothing to copy and paste.
Install it from the Creator Store, then in Roblox Studio open the NOCAPMOCAP toolbar and click Motion Lab.
Important: enable HTTP requests first
In Studio, go to File → Experience Settings → Security and turn on Allow HTTP Requests so the plugin can reach your account. If you skip this, the plugin can't connect and you'll get an error.
Then hit Connect account to link your NoCapMocap login, drop an R15 rig into your scene (or select one you already have), and you're ready.
Step 1: Write Your Animation Prompt
In the Motion Lab Create panel, describe the motion you want—or pick one of the preset prompts. You don't need to be precise; plain English works.
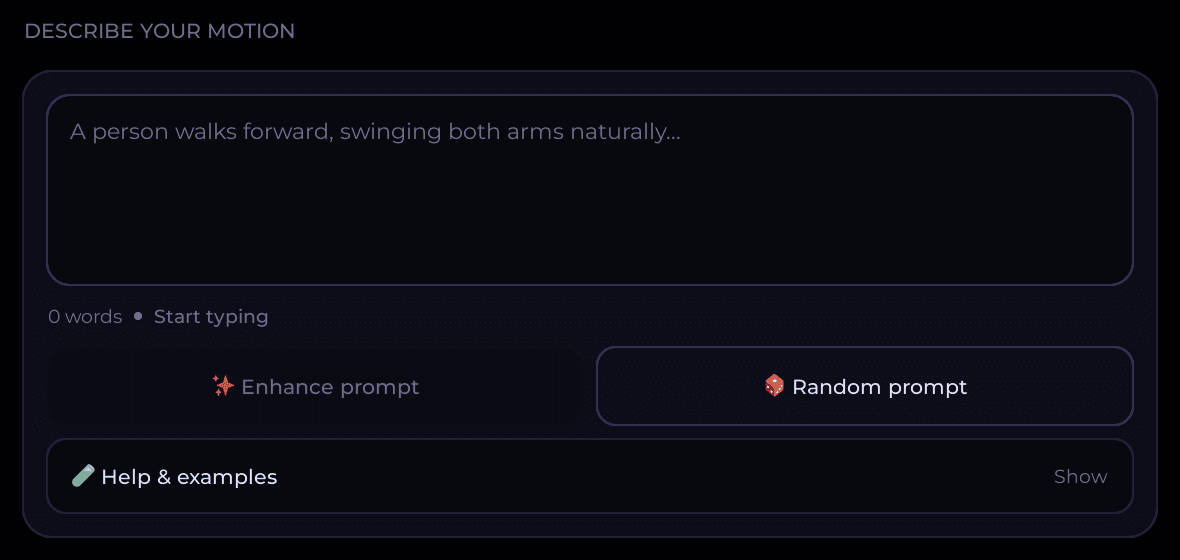
For this tutorial, we're creating a victory emote. Here's my first attempt at a prompt:
"A person raises their right hand upward signaling win jumping like he is so excited with both feet quickly."
Honestly? That's not a great prompt. But here's the thing—you don't need to be good at writing prompts. The Enhance button rewrites your prompt with AI so it works better with the animation model.
After enhancing, the prompt comes back cleaner and more precise—then you're ready to generate.
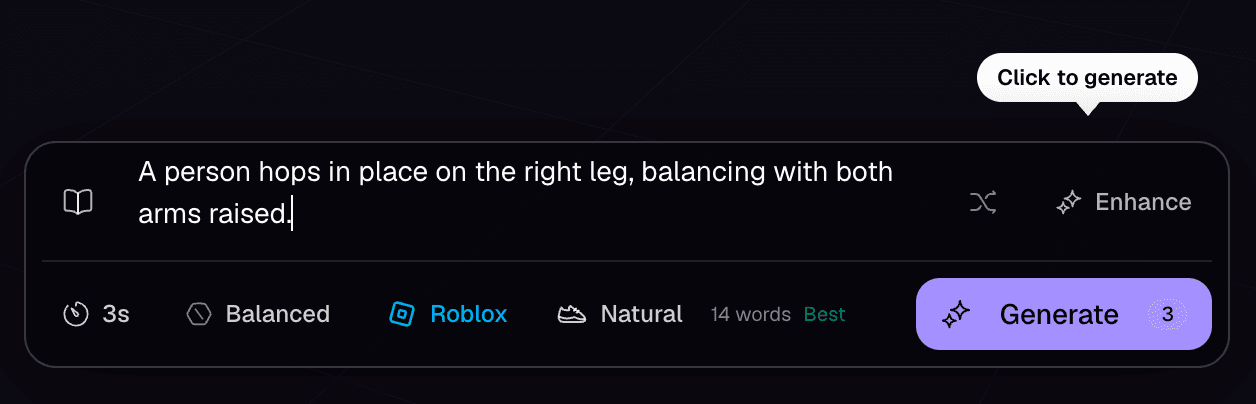
Step 2: Configure Your Settings
Everything in the plugin already targets Roblox R15, so there's no export format to pick. Just set your duration—for a quick emote, 2 seconds works well—and optionally nudge Text Fidelity higher to keep the animation closer to your prompt. Then hit Generate.
Step 3: Preview Your Animations
After a short wait, you'll get 4 different variations of your prompt. Each one interprets the motion a little differently, so you can cycle through and pick the one that looks best—right inside the plugin.
Step 4: Apply It to Your R15 Rig
This is the part that used to mean exporting files and copy-pasting. Now it's one step. Select your R15 rig in the scene, click Preview animation to see it play, and when you're happy, hit Apply to selected rig.
That's it—the animation is on your character. No file downloads, no clipboard, no third-party plugins.
Animate from a video instead (video-to-motion)
Don't want to write a prompt? NoCapMocap also does markerless video-to-motion. Record a phone clip of the move you want, upload it, and the AI converts it into a rigged R15 animation—no mocap suit, no markers, no Blender retargeting. From there it's the same flow: preview it, then apply it to your rig. (Video-to-Motion is currently in beta.)
Prefer the website? You still can
The plugin is the smoothest path, but you can still generate on the web. Generate at nocapmocap.com, then open any animation's menu and choose Copy to Roblox.
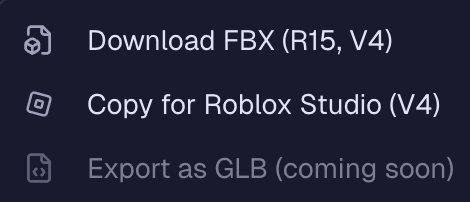
The web path isn't plugin-free, though. Copy to Roblox puts the animation on your clipboard, and you paste it into the community Blender Animations plugin inside Roblox Studio—not directly into the native Animation Editor. So grab Blender Animations from the Creator Store first. Roblox shows a caution on it because it's a third-party plugin that needs script permissions; that's expected.
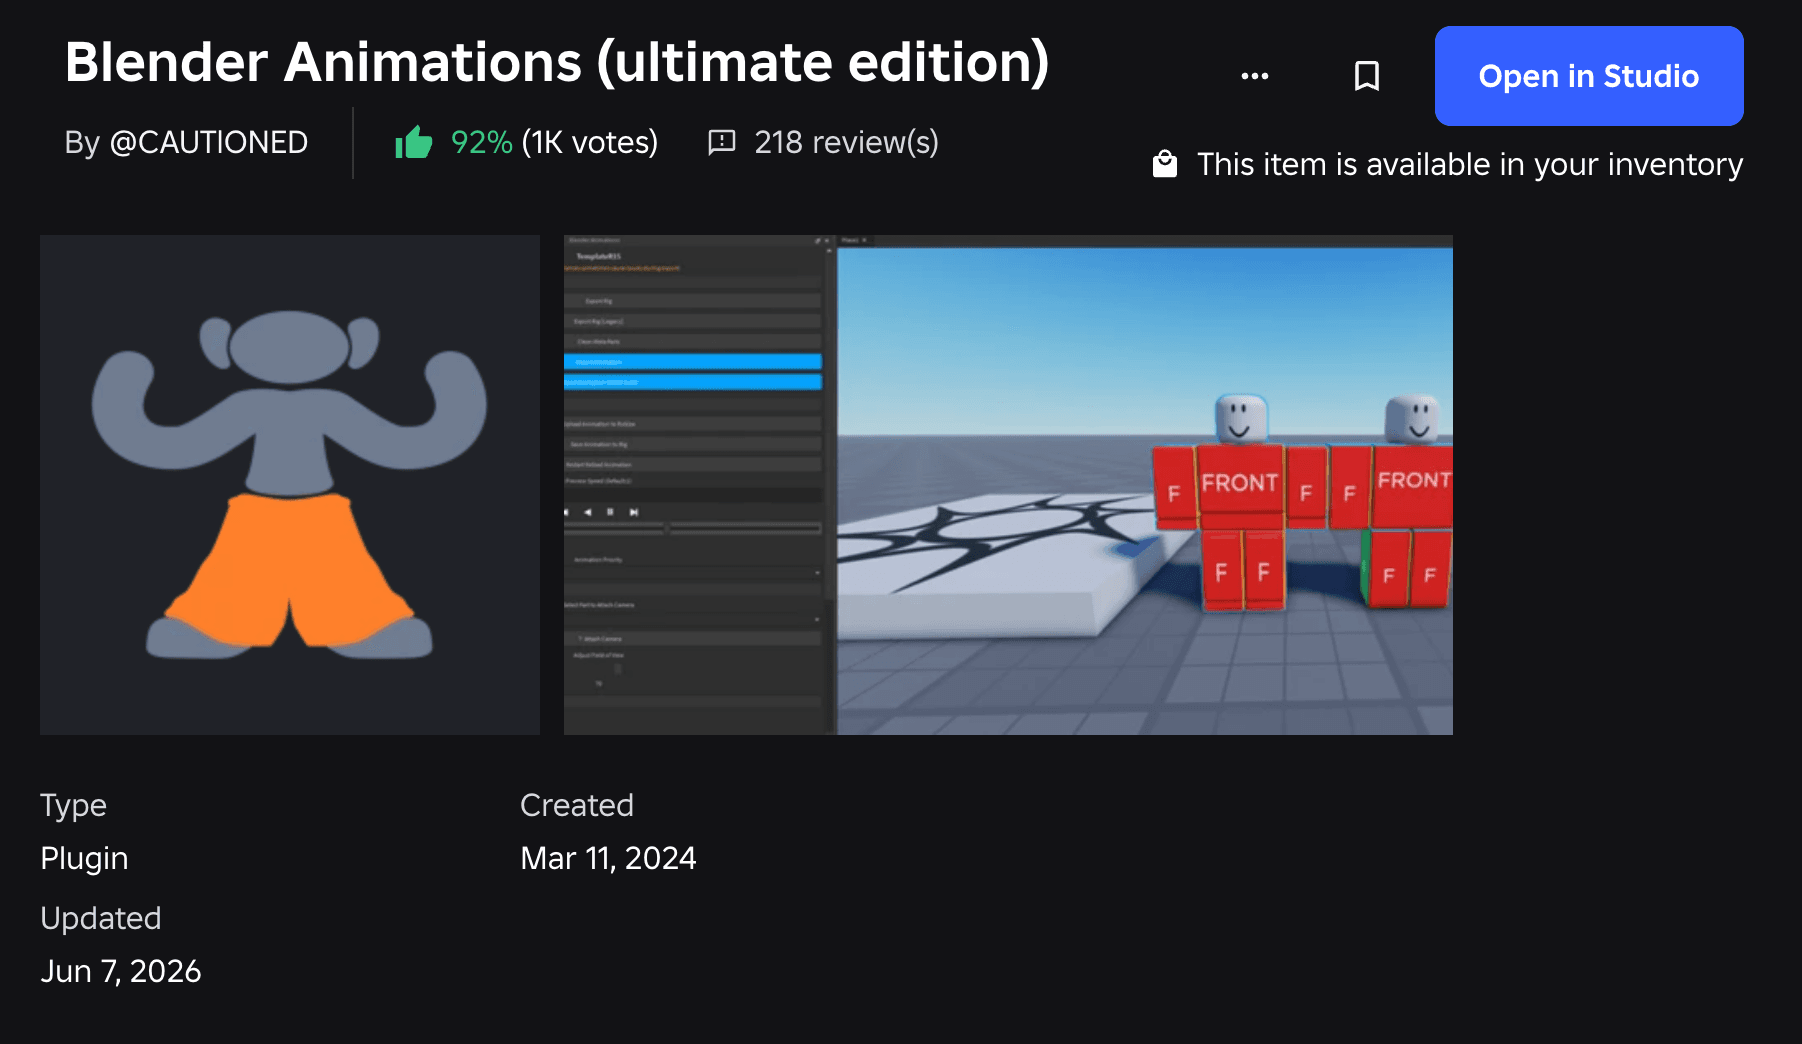
With the plugin installed, copying from NoCapMocap and pasting into Blender Animations looks like this:
What you can create
The same workflow covers just about any animation a Roblox game needs:
- Emotes and dances — victory poses, robot dances, ragdoll drops. (We walk through three of them in how to create custom Roblox emotes with AI.)
- NPC and ambient motion — idle loops, gestures, and reactions for non-player characters.
- Combat and action — attacks, dodges, knockbacks, and stumbles.
- Cutscene and gameplay moments — anything you can describe in a single sentence.
Coming from another tool? Here's how the options stack up in the best Mixamo alternatives for Roblox.
Wrapping Up
That's the full workflow, all inside Roblox Studio:
- Write a prompt (or use Enhance to fix it)
- Set your duration and generate
- Pick your favorite of the four variations
- Apply it to your R15 rig
No rigging, no keyframing, no file management—just describe what you want and apply it. Here are a few animations made exactly this way:
Frequently asked questions
Can AI make Roblox animations?
Yes. NoCapMocap is an AI animator built for Roblox—you describe a motion in plain English and it generates a rigged R15 animation in seconds, ready to paste straight into Roblox Studio. No keyframing or rigging required.
Is there an AI Roblox animator?
NoCapMocap is an AI Roblox animator and animation generator. It turns a text prompt (or a phone video) into an R15 animation and copies it directly to Roblox Studio, so you skip file downloads and manual retargeting entirely.
Can I do motion capture for Roblox?
Yes. Alongside text-to-animation, NoCapMocap offers markerless motion capture: upload a video clip and it converts the movement into a rigged R15 animation—no suit, markers, or special hardware needed.
How do I make Roblox animations with AI for free?
You can create a free account to get started. Generating animations uses credits, available as one-time packs or subscriptions, so you only pay for what you generate. Try a prompt first to see the quality before you commit.
Do I have to use the Motion Lab plugin?
No. The plugin is the fastest path because everything—generate, preview, and apply—happens inside Roblox Studio. But you can still generate on the web and use Copy to Roblox, then paste the animation into the community Blender Animations plugin in Studio. That route works without Motion Lab, but it isn't plugin-free—you'll need Blender Animations installed.
Do I need Blender or any animation experience?
No. The whole point is to skip Blender, rigging, and keyframing. You write a prompt (or upload a video), pick from four AI-generated variations, and apply the result to your R15 rig with one click.
Ready to try it? Start generating your first animation →