What if you could create unique, custom emotes for your Roblox game in minutes—without any animation experience?
Today, we're going to walk you through creating three different emotes using AI animation: a Ragdoll Drop, a Victory Pose, and a Robot Dance. By the end, you'll know exactly how to generate emotes, save them to your library, and import them directly into Roblox Studio.
What You'll Learn
- How to write effective prompts for emote animations
- Using the AI Enhance feature to improve your prompts
- Optimal duration and fidelity settings for emotes
- Saving animations to your personal library
- Importing animations into Roblox Studio
Step 1: Write Your First Prompt
Head over to nocapmocap.com and navigate to the generation form. You might be tempted to write whatever comes to mind, but we recommend following the structure you see in the example prompts—it helps the AI understand your intent much better.
Let's start with our Ragdoll Drop emote. In the motion description field, type:
"a person falls like a ragdoll drop, then stands up quickly"
This prompt works, but there's room for improvement. Click the Enhance button and let the AI refine it for you.
The enhanced prompt becomes:
"A person falls forward with loose limbs, then stands up quickly, using both legs and arms for balance, moving upward."
Much better. The AI now has a clearer picture of the motion—starting position, how the fall happens, and the recovery.
Tip: Always start your prompts with "A person..." and describe a simple, clear action. Avoid overly complex descriptions. The clearer your prompt, the better your results.
Step 2: Configure Your Settings
For this emote, we'll use:
- Duration: 3 seconds
- Text Fidelity: 4
Emotes between 1-3 seconds tend to work best for quick actions. Longer durations (4-5 seconds) are better suited for dance animations.
Text Fidelity controls how closely the output follows your prompt. The default is 5. Setting it to 4 gives the AI a bit more creative freedom, which can produce interesting variations.
Click Generate and wait a few seconds for your animations.
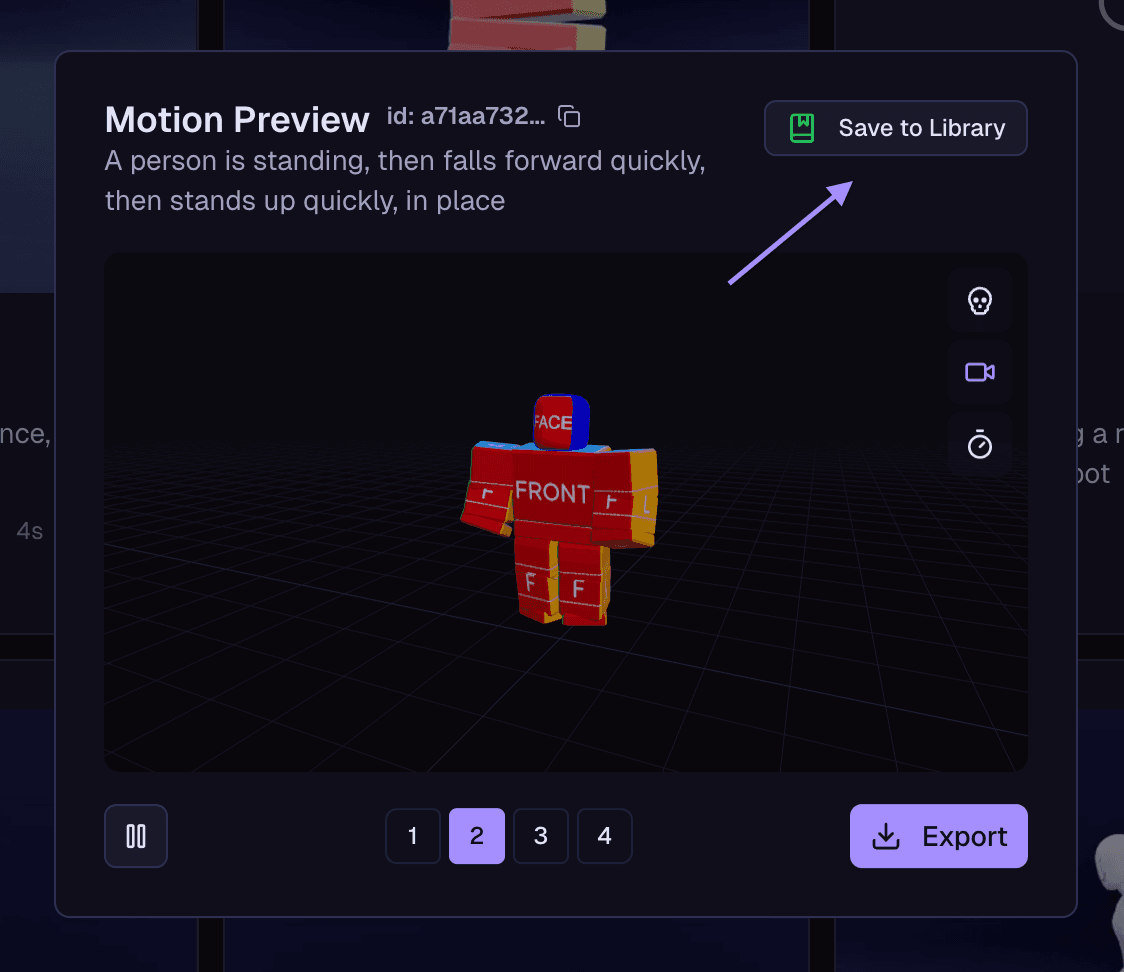
Step 3: Review Your Variations
Every generation produces 4 different variations for the same credit cost. This means even if some results miss the mark, you'll likely get at least one solid animation.
Looking at our Ragdoll Drop results—the second variation nails it. We'll save that one later, but first, let's create our other two emotes.
Step 4: Create the Victory Emote
For the Victory emote, let's try:
"A person jumps euphorically raising both arms signaling victory"
Click Enhance to see what the AI suggests:
"A person jumps upward quickly, raising both arms to the left and right, signaling victory."
Set the duration to 2 seconds and hit Generate.
The first variation looks perfect—a clean, triumphant jump with arms raised. The other variations might not be exactly what we wanted, but that's the beauty of getting 4 options: you only need one winner.
Step 5: Create the Robot Dance
Now for the tricky one—a Robot Dance. Let's see if we can nail this without using the Enhance feature:
"a person is doing a robot dance, glitchy dance"
For dance animations, we'll use:
- Duration: 4 seconds (longer for dance moves)
- Text Fidelity: 6 (higher accuracy to the prompt)

Click Generate and see what happens.
The results are... creative. Maybe not exactly a robot dance, but definitely entertaining and usable. Sometimes the AI's interpretation surprises you in a good way.
Step 6: Save to Your Library
Now let's save these animations permanently. Navigate to History to see your recent generations.
Click on the Ragdoll Drop thumbnail to view all 4 variations again. Select your favorite (we're going with variation 2), then click Save to Library.
A menu appears where you can add custom tags. You can skip this step—the AI will automatically suggest relevant tags for your animation.

Repeat this process for your Victory emote and Robot Dance. Select your favorite variation from each and save them to your library.
Step 7: Access Your Library
Once saved, head to Library in the main menu to see all your saved animations.
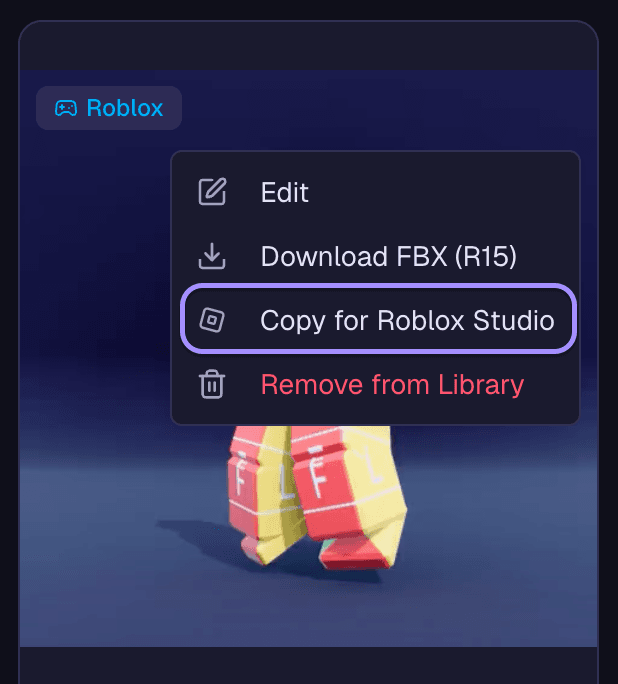
Step 8: Import to Roblox Studio
To bring your animations into Roblox, click the three-dot menu on any animation and select Copy to Roblox Studio.
Setting Up Roblox Studio
Open Roblox Studio. First, you'll need a character to preview animations:
- Go to Avatar → Character
- Add a Blocky character to your scene
Installing the Blender Animations Plugin
You'll need the Blender Animations (Ultimate Edition) plugin to import the animations.
Once installed:
- Go to Plugins
- Click Open
- Select Copy to Clipboard
- Paste the animation data you copied from NOCAPMOCAP
Your animation will start playing immediately on your character.
Repeat this for your remaining animations, and you're done.
Wrapping Up
You've just created three custom Roblox emotes using AI animation:
- Ragdoll Drop — a dramatic fall and recovery
- Victory Pose — a triumphant celebration
- Robot Dance — a creative interpretation
The entire process takes just a few prompts and clicks. No animation software. No rigging knowledge. Just describe what you want and let the AI handle the rest.
If this tutorial helped you out, share it with your friends or community. And don't forget to post your creations in our Discord—we'd love to see what you come up with.
Ready to create your own emotes? Start generating now →