Last updated June 2026.
Somewhere along the way, "how do I animate in Roblox" turned into "first, download Blender." Open almost any tutorial and step one is a 4 GB install, step two is an FBX export checklist, and step three is a retargeting diagram with more arrows than a subway map.
Here's the thing nobody tells you: for most Roblox animations, you don't need Blender at all. If your goal is to get an R15 animation onto a rig in Roblox Studio — an emote, an idle loop, an NPC gesture, a combat hit — there are faster paths that never touch a single export setting.
The Blender detour nobody actually asked for
Blender earned its reputation. It's free, it's powerful, and for custom 3D work it's genuinely excellent. The problem isn't Blender — it's that it got bolted onto a workflow that doesn't need it.
Here's the loop a Roblox creator usually falls into. You find a clip you like, maybe from Mixamo, maybe somewhere else. It uses a standard humanoid rig that doesn't match R15. So now you're in Blender learning FBX import settings, bone mapping, and retargeting — just to make one wave loop play on your avatar. You haven't animated anything. You've spent an afternoon translating a skeleton.
That's the whole catch: the Blender step exists to fix a rig mismatch you didn't have to create in the first place. If the animation comes out as R15 from the start, there's nothing to retarget — and the entire detour disappears.
And it's not just the time. Every extra hop is a place for things to break: an export scale that's slightly off, a bone that maps to the wrong joint, feet that slide because the proportions don't line up with R15. You end up debugging a pipeline instead of judging an animation. For a wave, a victory pose, or an NPC idle, that's a lot of overhead for not much payoff.
So before you install anything, ask one question: does this project actually need Blender, or did a tutorial just tell me it does?
The no-Blender options, side by side
For R15 work there are three real paths that skip Blender entirely. Here's how they compare before we get into each one.
| Path | Best for | Where you work | Tradeoff |
|---|---|---|---|
| Motion Lab plugin | Generating + applying R15 motion fast | Inside Roblox Studio | One-time plugin install + HTTP setting |
| Web generator + Copy to Roblox | Generating in the browser | Browser → Studio | Needs the Blender Animations plugin, plus a quick browser-to-Studio hop |
| Native Animation Editor | Hand-keyframed, exact control | Inside Roblox Studio | Slower, fully manual |
None of these involve a file conversion. None of them involve a skeleton diagram. Let's walk through them.
Option 1: Generate and apply inside Studio with Motion Lab
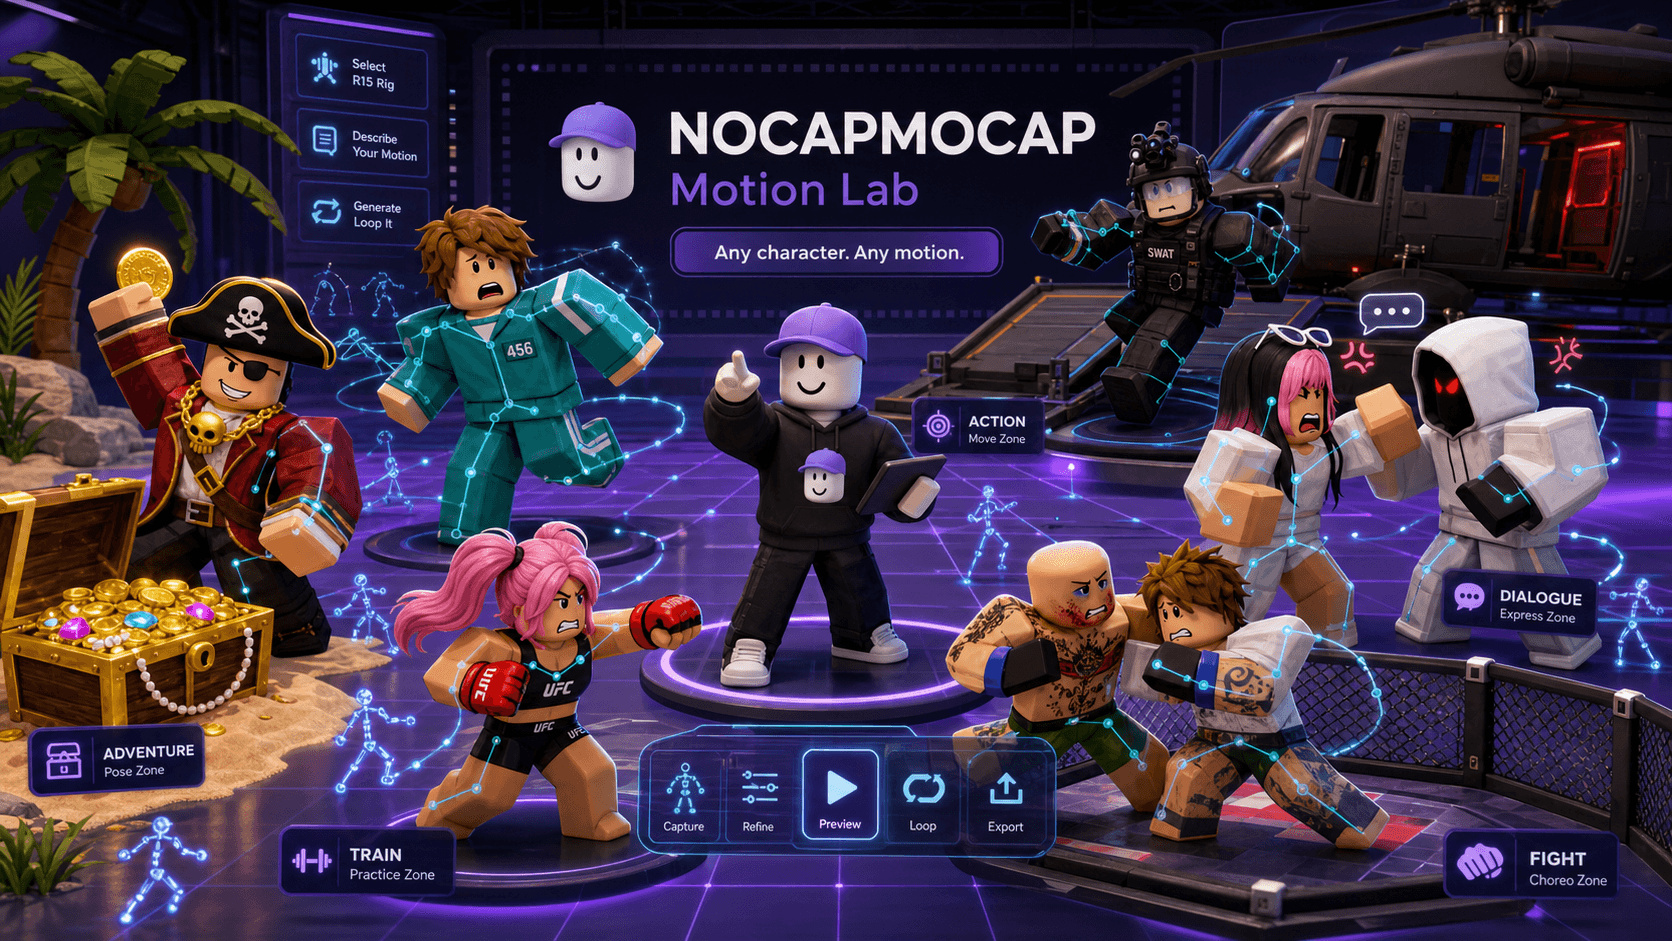
This is the one I'd reach for first. The NoCapMocap Roblox Studio animation plugin — Motion Lab — lets you generate an R15 animation from a text prompt or a video reference, preview it, and apply it to a rig without ever leaving Studio. No export, no import, no clipboard gymnastics.
The reason it kills the Blender step is simple: the output is already a rigged R15 animation. You select a rig, you apply the motion, you're done.
Here's the full setup, and it's genuinely four moving parts:
1. Install Motion Lab
Grab NoCapMocap Motion Lab from the Roblox Creator Store, then open or restart Roblox Studio so the plugin loads. You'll find it in the NOCAPMOCAP toolbar.
2. Turn on HTTP requests
In Studio, go to File → Experience Settings → Security and enable Allow HTTP Requests. Motion Lab needs this so the plugin can talk to your account.
Don't skip this one
If HTTP requests are off, the plugin can't connect and you'll just get an error with no obvious cause. Flip this before you try to log in and save yourself the confusion.
3. Connect your account
Open the Motion Lab panel and hit Connect account, then follow the short browser prompt to link your NoCapMocap login.
4. Generate, preview, apply
Describe a move in plain English — or upload a short video clip — and you'll get back R15 variations. Pick one, drop an R15 rig into your scene (or select one you already have), preview the motion, then click Apply to selected rig. From there it's Studio's normal animation flow: tweak timing, set looping or priority, and save or publish through the Animation Editor when it's ready.
For your first test, keep it tiny — a two-second emote or idle is far easier to judge than a long sequence.
Best for: Creators who want to generate motion and get it onto a rig in the same window, with zero files involved.
Not great for: People who specifically want to hand-keyframe everything from scratch.
Option 2: Use the web app and Copy to Roblox
Prefer the browser, or just want to generate outside Studio first? You can still import a Roblox animation without Blender.
Generate on the no-Blender Roblox animation generator, pick the result you want, open its menu, and choose Copy to Roblox. Then paste it into the community Blender Animations plugin inside Roblox Studio.
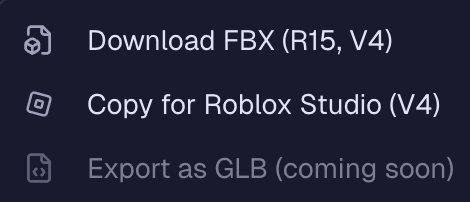
The web path isn't plugin-free, though. Copy to Roblox puts the animation on your clipboard, and you paste it into Blender Animations inside Studio. Despite the name, that's a Roblox Studio plugin from the Creator Store, not the Blender desktop app. It's the same R15-native output as Motion Lab — the only difference is the short hop between your browser and Studio instead of doing everything in one panel. Still no FBX, still no retargeting.
Best for: Creators who'd rather generate in the browser and don't mind installing Blender Animations in Studio.
Not great for: Anyone who wants the apply step to happen without leaving Studio, or wants a plugin-free path.
Option 3: Keyframe it yourself in the native Animation Editor
If you want zero AI, zero plugins, and zero browser — Roblox Studio already ships with an Animation Editor, and it's the most native option there is.
You select a rig, pose it by moving and rotating the parts, drop keyframes on the timeline, adjust easing, set looping and priority, and publish when it's ready. It's slower and fully hands-on, but for a simple motion where you want exact control, it's hard to beat for directness.
Honestly, the strongest workflow is often a combination: generate a solid base motion with Motion Lab, then nudge a few keyframes in the Animation Editor to nail the timing. Both happen inside Studio, and Blender never enters the picture.
Best for: Simple motions, learning how Roblox timing works, or polishing a generated animation by hand.
Not great for: Filling a game with custom motion fast — manual keyframing doesn't scale.
So when is Blender still worth it?
A fair answer has to admit Blender still has a place — because it does. This isn't a "Blender bad" post. Blender is a serious tool, and there are real jobs where it's the right one:
- You're building or editing custom 3D character assets, not just animating an existing rig.
- You need deep animation cleanup beyond what Studio's timeline offers.
- You're working with non-Roblox rigs or FBX files from Unity, Unreal, or another pipeline.
- Animation is one stage of a larger 3D workflow that lives outside Roblox.
That's the honest line: reach for Blender when the project needs Blender-level control — not because a tutorial implied every Roblox animation has to pass through it.
Best for: Custom assets, complex cleanup, and multi-engine pipelines that go beyond a single R15 rig.
Not great for: Everyday emotes, idles, NPC motion, and short gameplay moves on R15.
What this looks like in practice
Every animation below was made with the no-Blender flow — described in plain English, generated as R15, and applied to a rig in Studio. No export settings, no bone mapping, no second app on a second monitor.
If you want the full step-by-step with screenshots, the easiest way to make Roblox animations walks through Motion Lab end to end. Coming from another tool and weighing your options? Here's how the best Mixamo alternatives for Roblox stack up, and a few custom emotes made with AI if you want ideas.
FAQ
Can you import Roblox animations without Blender?
Yes. For R15 work you can skip Blender entirely. Use the Motion Lab plugin to generate and apply animations inside Roblox Studio, use Copy to Roblox from the web app, or keyframe in Roblox's native Animation Editor. Blender is only needed for custom assets or non-Roblox pipelines.
Why do so many Roblox tutorials use Blender?
Most tutorials start from a generic humanoid clip or a Mixamo FBX that doesn't match the R15 rig, so they use Blender to retarget it. If your animation already comes out as R15 — like it does with NoCapMocap — there's nothing to retarget and no reason to open Blender.
Do I need to convert files or use FBX to import a Roblox animation?
No. The no-Blender paths keep everything as native R15 animation data. Motion Lab applies the motion to a rig in Studio, and Copy to Roblox pastes into the community Blender Animations plugin inside Roblox Studio — no FBX export, file conversion, or bone mapping.
Is Blender ever still useful for Roblox animation?
Yes. Blender is genuinely powerful for building custom 3D character assets, heavy animation cleanup, and pipelines that involve non-Roblox rigs or other engines. It just isn't required for everyday emotes, idles, NPC motion, and short gameplay moves on an R15 rig.
What's the fastest way to get an animation onto an R15 rig?
Generate it where the rig already lives. The Motion Lab plugin lets you create or import a motion and apply it to a selected R15 rig inside Roblox Studio, so there's no exporting, importing, or retargeting between apps.
Skip the install, skip the retargeting. Generate your first R15 animation →